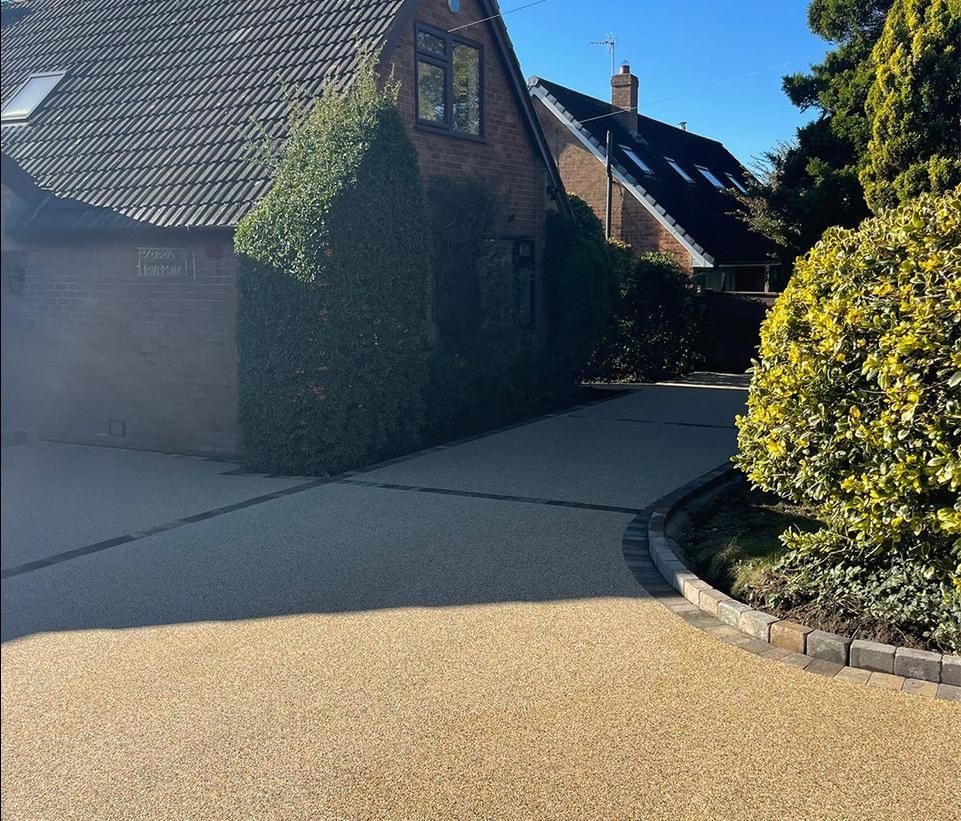
Our Installation Process For Resin Driveways
Are you thinking about building a resin driveway? We're not shocked that resin drives have skyrocketed in popularity in recent years. They appear to be in high demand due to their remarkable endurance, little care requirements, and aesthetic appeal. Here is a step-by-step instruction manual to help someone install a resin drive correctly, whether they are a builder or enjoy doing some DIY from time to time to save money.
Please be aware that resin is a
specialised product, and we always advise
employing a professional service. The consumer uses the advice in this page at their own risk.
Surface Preparation
The surface needs to be adequately prepped before installation can start. Unless you are putting an “overlay” (placing resin over tarmac or concrete, provided the surface is in good enough condition), it is crucial to remove any existing driveway materials before beginning. Clean, and level the surface to a beautiful finish. To prevent future damage to your resin drive, any cracks or potholes in the current drive must be filled.
Installing The Base
You'll need to lay a
sub-base, since a good driveway requires a
sturdy base. Usually, this entails carefully
compacting a layer of crushed stone or
hardcore that has been equally distributed throughout the surface. For the optimum
stability, a
thickness of 18-24 mm is advised.
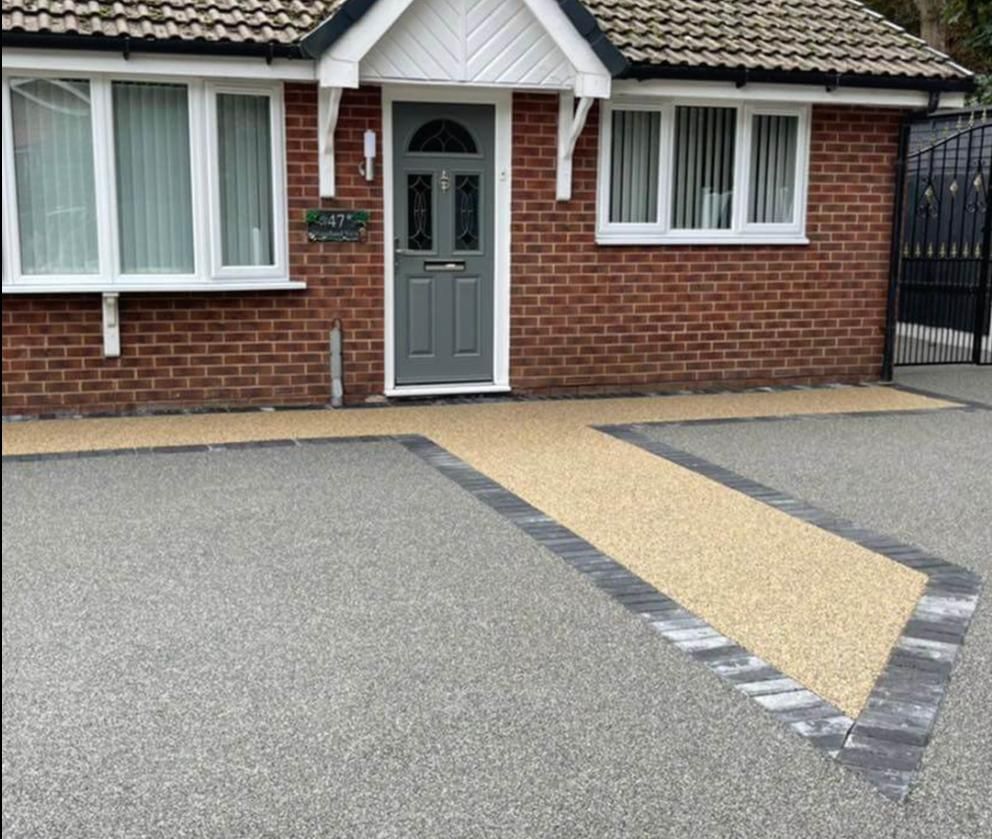
Border Design
Installing
edge restrictions in step two will define the boundaries of your driveway. For this step of the process, you can choose from
concrete,
timber,
metal, or
block pavers. Resin won't spread
outside the desired region if you make a strong edge.
Weed Membrane
To
prevent weeds from growing through your driveway, you must put a
weed control membrane over the
sub-base, resulting in a
clean and
maintenance-free result. This membrane will act as a
barrier,
preventing unwanted vegetation from growing through.
Mixing The Resin
After all of the preparation stages have been performed,
the resin can be blended together. It is preferable to follow the
installation instructions provided by the
manufacturer. Depending on the
product, the
mixing method may differ. Resin driveways typically consist of two components:
resin and
aggregate. You may make a consistent blend by
combining these two ingredients in a suitable container.
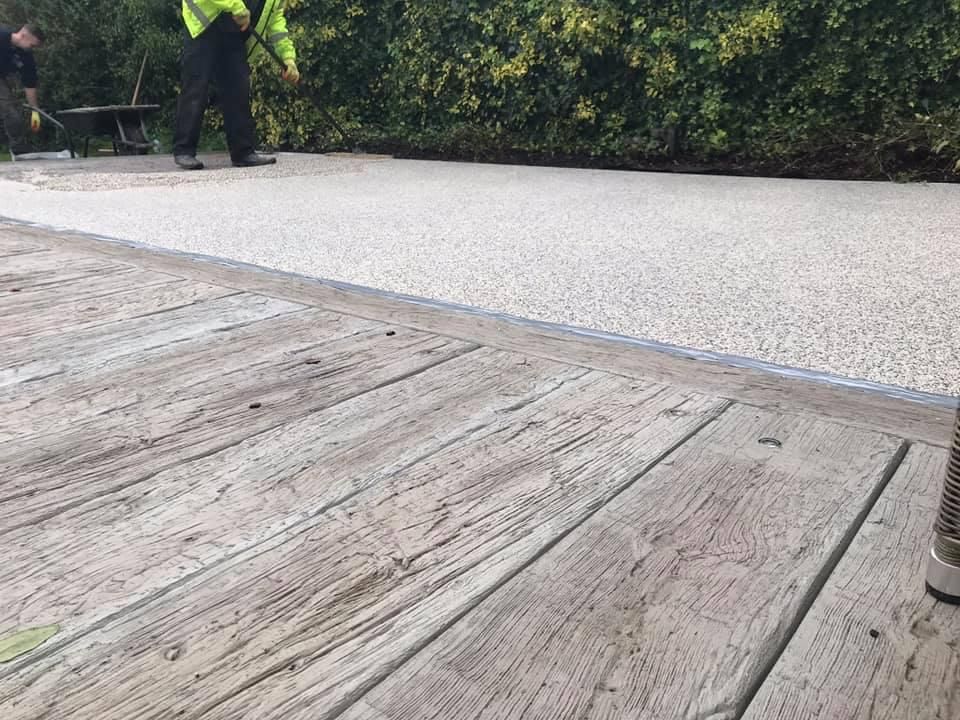
Laying The Resin
Working in small parts, apply the mixed resin to the
prepared surface to ensure a smooth and
seamless finish. Spread the mixture uniformly, at a thickness of 18-24 mm. Be especially cautious of resin
pooling in particular spots, since this could result in an
uneven surface.
Making It Look Spotless
Once the mixture is in place, use a
roller or
shovel to gently
press it into the resin. This will help to reinforce the
bond and embed the
aggregate. Pay particular attention to any areas that may require
additional aggregate to provide a
uniform appearance.
Curation Time
Allow the resin driveway to cure for the recommended time—usually
between 24 and 48 hours. During this time, make sure the driveway is safe from
people,
automobiles, and
poor weather.
Last Step
When the resin has completely dried,
sweep the surface to
remove any remaining loose aggregate. This can also be done with a
leaf blower. Finally, clean the driveway with
water and a
light detergent to bring out its
full beauty.
Installing a resin driveway is a rewarding project that improves the functionality and value of your home. These step-by-step instructions will assist you in creating a professional-looking driveway that will last for many years with no maintenance.
Please
call us if you require professional assistance.
You might also like
Resin Driveways Bristol
Contact Us
Professional & Renowned
Call Us Now To Get A FREE Quote
Call
Working hours
- Mon - Sun
- -